With your SDX Mod downloaded, it's time to add it to your Game Directory.

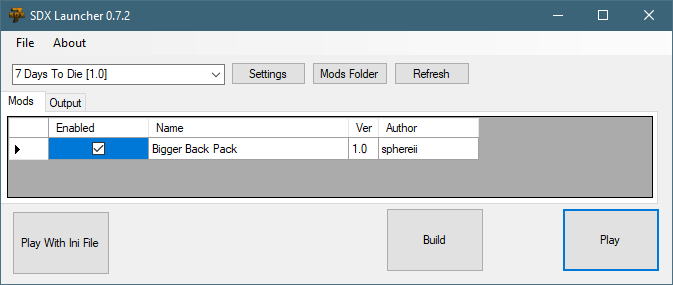
Click on the Start SDX Launcher

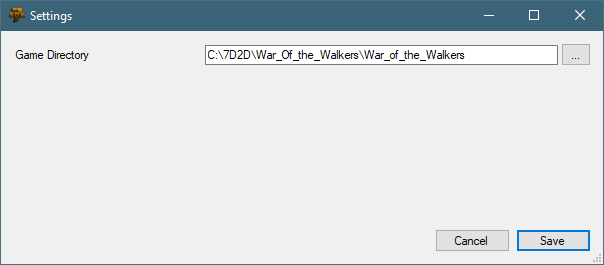
Click on the Settings button to update your Game Directory to point to your War of the Walker.
If you have "Sync SDX Launcher Settings" checked, this step is done for you.

Click on Save to save your changes, if any, and return to the SDX Launcher.
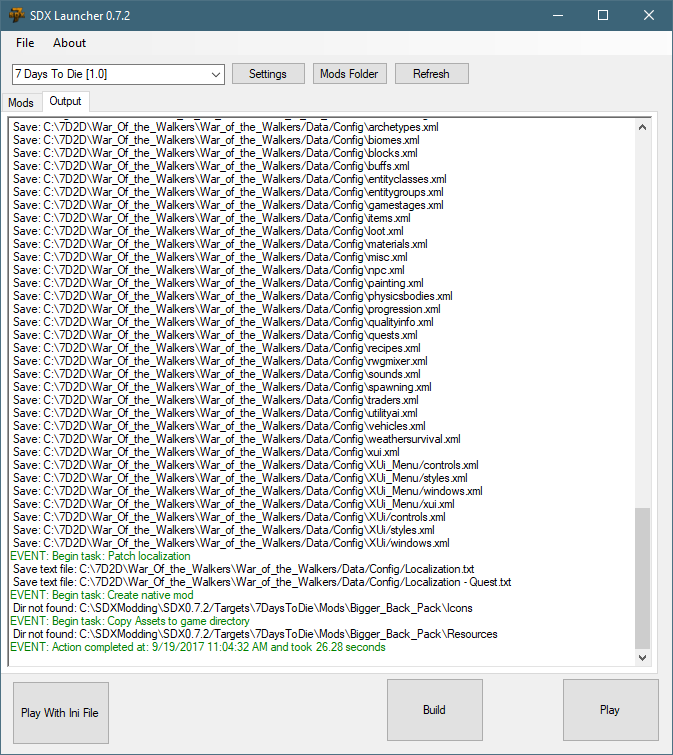
Click on the Build button on the SDX Launcher screen

You may scroll up to see if there was any errors or warnings.
You have two options now: Use the Play button in the SDX Launcher, or close the SDX Launcher and return to the SDX Mod Helper to Play.
What's the different?
The Play button in the SDX Launcher will launch the game, and you can begin your play test.
The Play button in the SDX Mod Helper does the same thing, however, it does a few more things as well. If you are merging a few mods together, then there could be duplicate ItemIcons under your Mods folder now. The game will put warnings and errors in your build log, complaining about the duplicate icons.
The SDX Mod Helper will automatically move the icons around, and get rid of duplicates for you.
The SDX Mod Helper will also generate a Mod.zip file. This zip file contains all the files that have been modified, and will allow you to easily share your mods with other people.
Created with the Personal Edition of HelpNDoc: Produce Kindle eBooks easily